
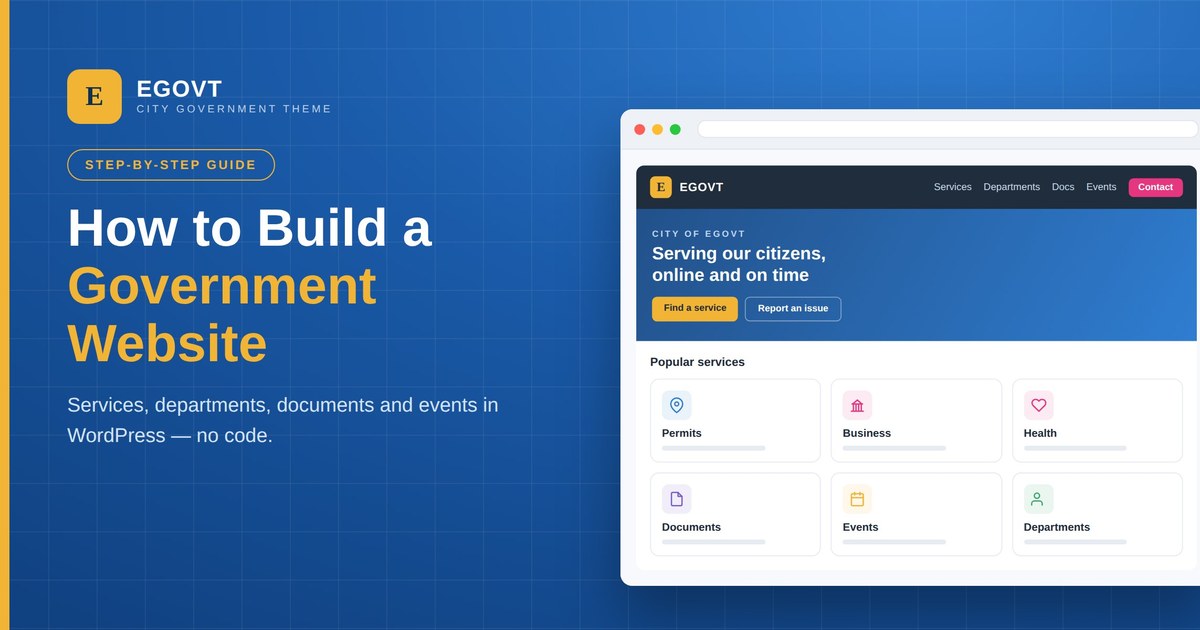
Building a website for a city, department, or public agency used to mean a long procurement cycle and a developer on call for every change. It doesn’t anymore. With WordPress and a theme built for the public sector, a small team can stand up a complete government portal — services, departments, documents, events, staff, and more — and keep it current without writing a line of code.
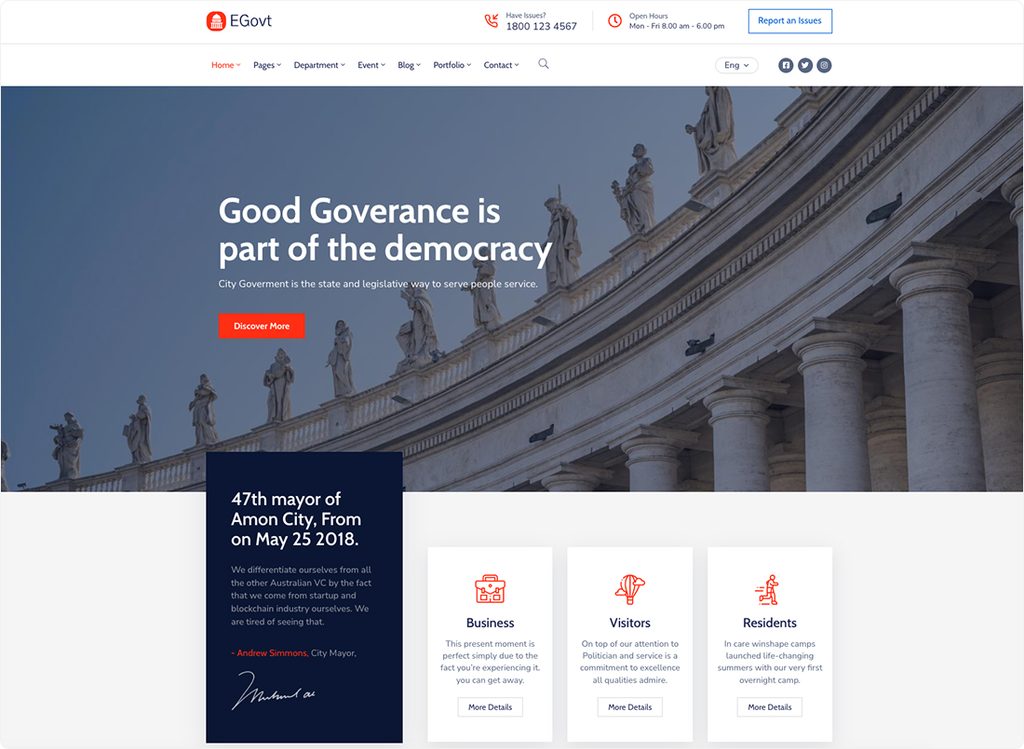
This guide walks through the whole process, from a blank WordPress install to a working municipal site. We’ll use the Egovt theme for the examples, because it ships with the civic content types government sites actually need, but the workflow applies whichever purpose-built theme you choose. If you’re still deciding on that theme, start with our complete guide to government WordPress themes and come back here to build.
What you’ll need before you start
You can build everything below with a modest, mostly one-time budget. The essentials are:
- A domain and web hosting. Any reputable WordPress host works; a
.govor your national equivalent lends official credibility where it’s available to you. - WordPress itself, which is free and open-source.
- A government WordPress theme. Egovt is a one-time license and includes the civic features, so you’re not buying and wiring up a dozen separate plugins.
- The bundled plugins. Egovt installs what it needs for you — the free Elementor page builder, GiveWP for donations, One Click Demo Import, and the Ovatheme content plugins that add services, departments, documents, events, teams, a directory, and a portfolio.
That’s it. You do not need coding skills, and you don’t need to hire an agency. For a realistic look at the full budget — hosting, theme, and optional extras — see how much a government website costs.
Step 1: Install WordPress and the theme
Most hosts offer a one-click WordPress install; use it, then log in to your new dashboard. Install the Egovt theme from Appearance → Themes → Add New → Upload Theme, activate it, and accept the prompt to install the recommended plugins. Egovt bundles the Ovatheme plugins plus Elementor, GiveWP, and One Click Demo Import, and activating them together is what unlocks the civic content types you’ll use in the later steps.
Once the plugins are active, you’ll see new items in the left-hand admin menu — Services, Departments, Documents, Events, Team, Directory, and Portfolio. Each is a dedicated content type with its own editor, so staff can add a service or an event the same way they’d write a blog post.
Step 2: Import the demo — start from a finished site, not a blank page
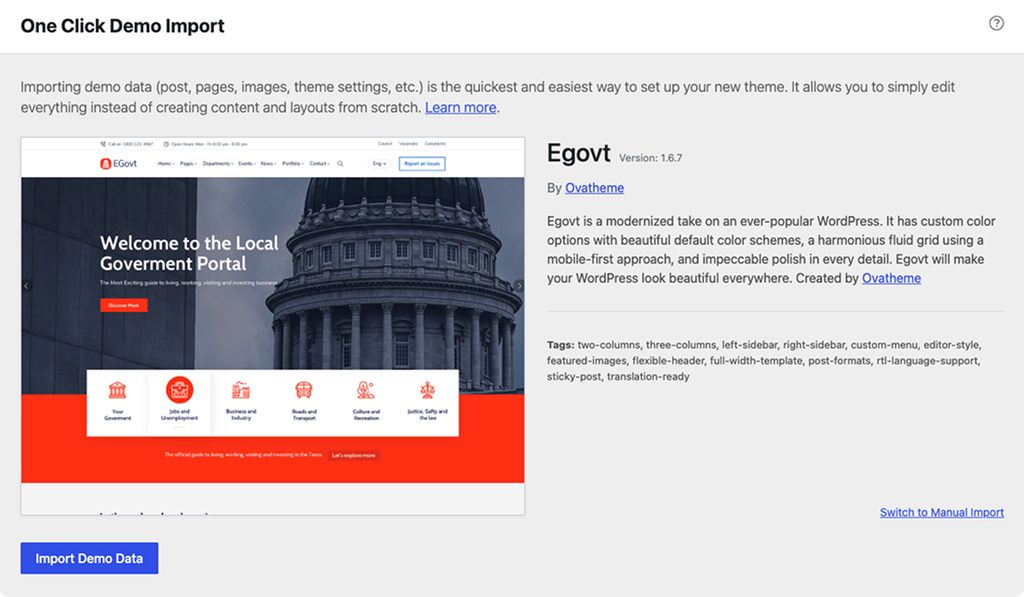
This is the step that saves you weeks. Rather than designing every page from scratch, run Appearance → Import Demo Data (One Click Demo Import) to pull in Egovt’s complete demo: homepage, inner pages, menus, sample services and departments, an events calendar, and placeholder content throughout. In a few minutes you have a fully built government site on your own domain.
From there, building your site is really a matter of replacing demo content with your own — a far faster and less error-prone job than assembling a site piece by piece. Everything in the remaining steps is about swapping in your real services, departments, documents, and events.
Step 3: Plan your structure and navigation
Before you fill the site, decide how residents will move through it. Government sites serve people trying to do something — find a service, download a form, check a meeting date — so the structure should be built around citizen tasks, not your internal org chart. A clear top navigation (Services, Departments, Documents, Events, News, Contact) and a simple, task-oriented sitemap prevent the sprawl that makes so many public sites hard to use.
It’s worth mapping this out before you build, not after. Our dedicated walkthrough on government website structure and sitemaps covers the core pages every municipal site needs and how to arrange them so people find services fast.
Step 4: Set up your header, footer, and menus
Egovt builds headers and footers with the free Elementor builder through the Ovatheme framework, which means you edit them visually — logo, contact bar, navigation, and footer columns — without touching template files. Set your site logo in the Customizer, then adjust the header and footer layouts to match your organization’s branding and the navigation you planned in Step 3. Because it’s all no-code, the same staff who write content can keep the header and menus current as your services change.
Step 5: Add your public services
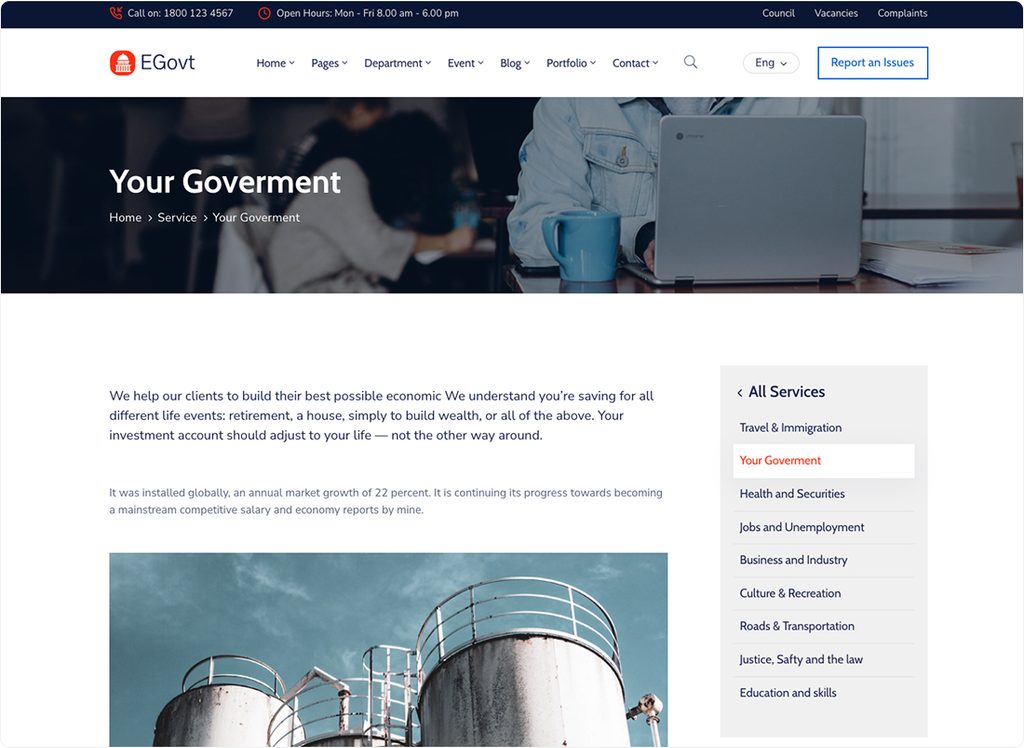
The Services content type (Egovt’s Service Manager) is where you publish everything your organization does for the public. Add a new service, give it a title and description, assign an icon and a category, and publish — repeat for each service, and you have a searchable, organized services section that citizens can browse to reach the right office quickly. Grouping services into categories keeps a long list navigable.
This is usually the highest-value section of a government site, so it’s worth doing well. Follow the detailed steps in how to add an online public services section.
Step 6: Build a department directory
Use the Departments content type to give every unit of your organization its own page — mission, responsibilities, the department head, and contact details — all organized under department categories. The result is a clear directory that shows how your government is structured and who to contact for what. It also pairs naturally with your staff directory, so visitors can move from a department to the people who run it. The full walkthrough is in how to build a department directory in WordPress.
Step 7: Create a document and records center
Citizens constantly need official files — forms, policies, ordinances, meeting minutes, public records. The Documents content type gives them one place to find and download all of it. Each document supports a file upload with the file size shown and a direct download, organized by category, so a resident can browse to the right form and grab it in one click instead of emailing your office. See how to build a document and records center for the step-by-step.
Step 8: Add a city events calendar
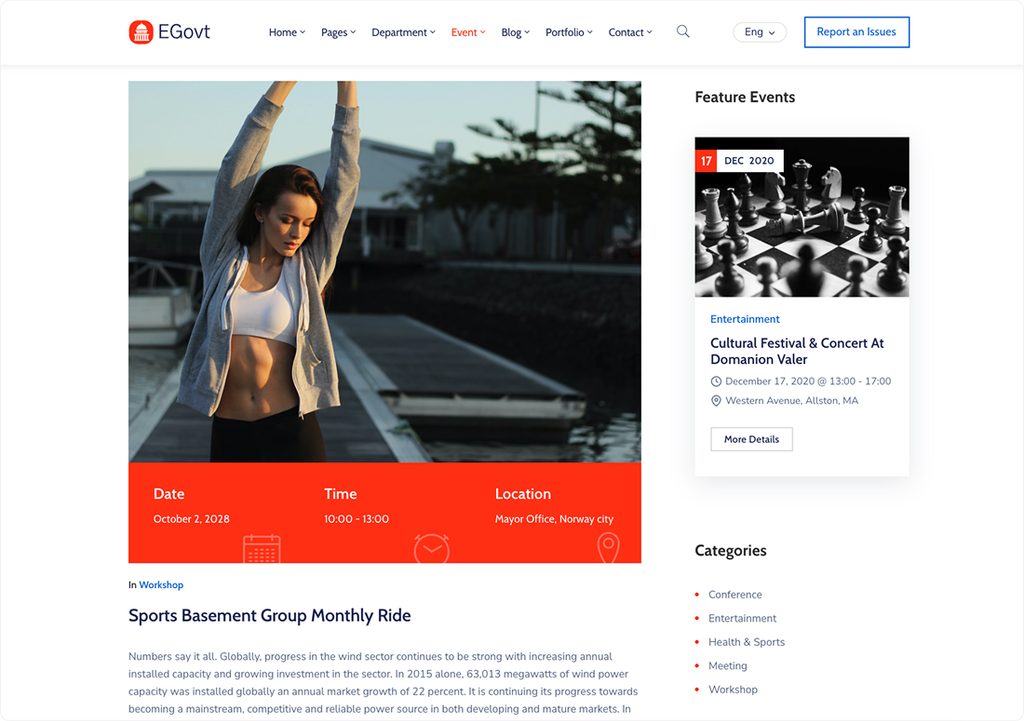
Council meetings, public hearings, community programs — the Events content type publishes them all with everything an attendee needs: start and end date and time, venue, organizer, contact details, a website link, a photo gallery, and a Google Map of the location. Events can be filtered by type and tag, shown in a calendar, and dropped onto any page with the built-in Elementor widgets for event lists and upcoming events. Set up your calendar with how to add a city events calendar in WordPress.
Step 9: Publish a staff and officials directory
Public trust grows when people can see who’s behind the government. The Team content type showcases officials and staff with photos, roles, bios, and contact details, organized into categories. Linked from your department pages, it turns an abstract org chart into a directory residents can actually use to reach the right person. Build yours with how to build a staff and officials directory.
Step 10: Build a local places and attractions directory
Many city sites do double duty as a guide to the area. Egovt’s Directory content type lets you list local landmarks, attractions, parks, and venues — each entry with a category and tags, a photo gallery, and a Google Map so residents and visitors can explore what your city offers. It’s an easy way to add real value beyond pure administration. The full guide is how to build a local attractions directory.
Step 11: Showcase public projects and achievements
Governments do a lot that residents never hear about. The Portfolio content type presents civic projects and milestones in image galleries and albums, organized by category, with Classic, Grid, and Modern layouts to choose from. Use it for infrastructure projects, community initiatives, or an annual achievements gallery — a visual, credible record of the work being done. See how to showcase public projects and achievements.
Step 12: Run donation and fundraising campaigns
For community causes, disaster relief, or public events, Egovt integrates the popular GiveWP plugin so you can set up donation campaigns and forms directly on your site — no separate fundraising platform, and every gift stays on your official domain. It’s optional, but valuable for organizations that raise funds for community programs. Set it up with how to run donation campaigns with GiveWP.
Step 13: Make it multilingual and accessible
Two things separate a good government site from a compliant one. First, if you serve residents in more than one language, Egovt is compatible with WPML so you can run a genuinely bilingual or multilingual site — see building a multilingual government website. Second, public-sector sites are frequently required to meet accessibility standards like WCAG 2.2, and in many places ADA or Section 508. A purpose-built theme gives you a solid foundation — contrast, keyboard navigation, semantic headings — but how you build and maintain the site matters just as much. Work through our government website accessibility and compliance guide before you launch.
A quick word on cost
Building the site yourself with a purpose-built theme keeps the budget small: a one-time theme license, hosting, and your team’s time. The demo import and no-code builder eliminate the most expensive line item — custom design and development. For a full, realistic breakdown, see how much a government website costs in 2026.
Your pre-launch checklist
- Real content replaces demo content across services, departments, documents, events, and team.
- Navigation and sitemap reflect citizen tasks, not internal structure.
- Contact information is correct on every department and staff entry.
- Documents are uploaded, categorized, and downloadable.
- Accessibility basics are checked — contrast, alt text, headings, keyboard access.
- Languages are set up if you serve a multilingual community.
- Performance and security — caching, HTTPS, and backups are configured.
Work top to bottom and you’ll launch a site that’s genuinely usable, not just live.
Why build on Egovt
Everything in this guide is possible because Egovt was built specifically for city governments, municipalities, and public agencies. It ships with management tools for services, departments, documents, events, and teams — plus a directory of local places and attractions, a portfolio for public projects, and GiveWP-powered donation campaigns. It works with the free Elementor builder and WPML, and its one-click demo import means you start from a complete government site rather than a blank page. It’s trusted by more than 1,700 customers and backed by documentation and support.
Ready to build? Explore the Egovt City Government theme → View the live demo, or start building your municipal site today.
Frequently asked questions
Can I build a government website without any coding?
Yes. With a purpose-built theme like Egovt, a no-code builder (Elementor), and one-click demo import, you set up services, departments, documents and events without writing code — you’re editing content, not templates.
How long does it take to build a government website in WordPress?
With demo import and a builder, a basic site can be live in a few days. Most of the time then goes into writing and organizing your own content rather than on design.
What content types does a government site need?
Typically services, departments, documents, events and a staff directory — plus, often, a places directory, a projects portfolio and donations. Egovt includes all of these out of the box.
Is WordPress secure enough for a government website?
Yes, when maintained properly. Use reputable hosting, keep WordPress and plugins updated, enforce HTTPS, and follow standard hardening steps for the public sector.
Do I need a developer to maintain the site?
No. The whole point of a no-code theme is that ordinary staff can add a service, upload a document, or post an event on their own after launch.
Keep reading
- How to Run Donation Campaigns With GiveWP
- How to Showcase Public Projects & Achievements in WordPress
- How to Build a Local Attractions Directory in WordPress
- How Much Does a Government Website Cost?
- How to Structure a Government Website
- Accessibility & Compliance for Government Websites
- How to Build a Staff & Officials Directory in WordPress
- How to Add a City Events Calendar in WordPress
- How to Build a Document & Records Center in WordPress
- How to Build a Department Directory in WordPress
- How to Add an Online Public Services Section in WordPress
- The Complete Guide to Government WordPress Themes
