
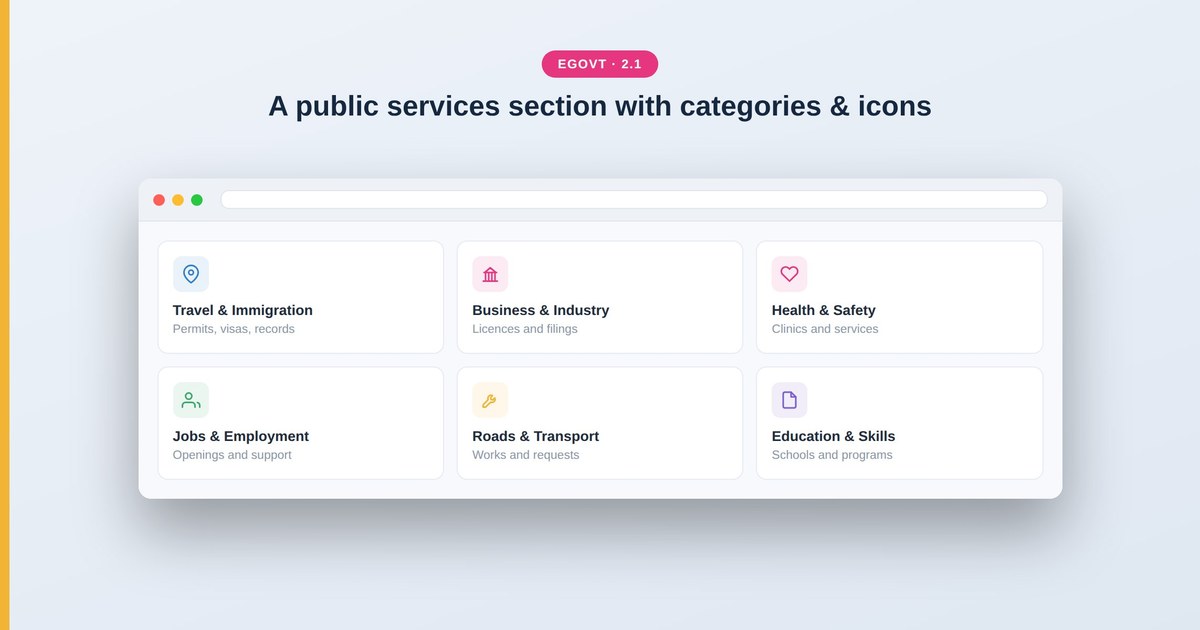
This is the hands-on guide to adding an online public services section in WordPress with the Egovt theme — the exact menus, fields and settings. If you first want to understand what a services portal is, why you need one and what a good one includes, start with what a public services portal is; this page is the build.
Before you start
Make sure the Egovt theme is active and its recommended plugins are installed, including the OvaTheme Service plugin. Once it’s active, a Service item appears in the WordPress admin menu — that’s where every step below happens. No coding required.
Step 1: Create each service
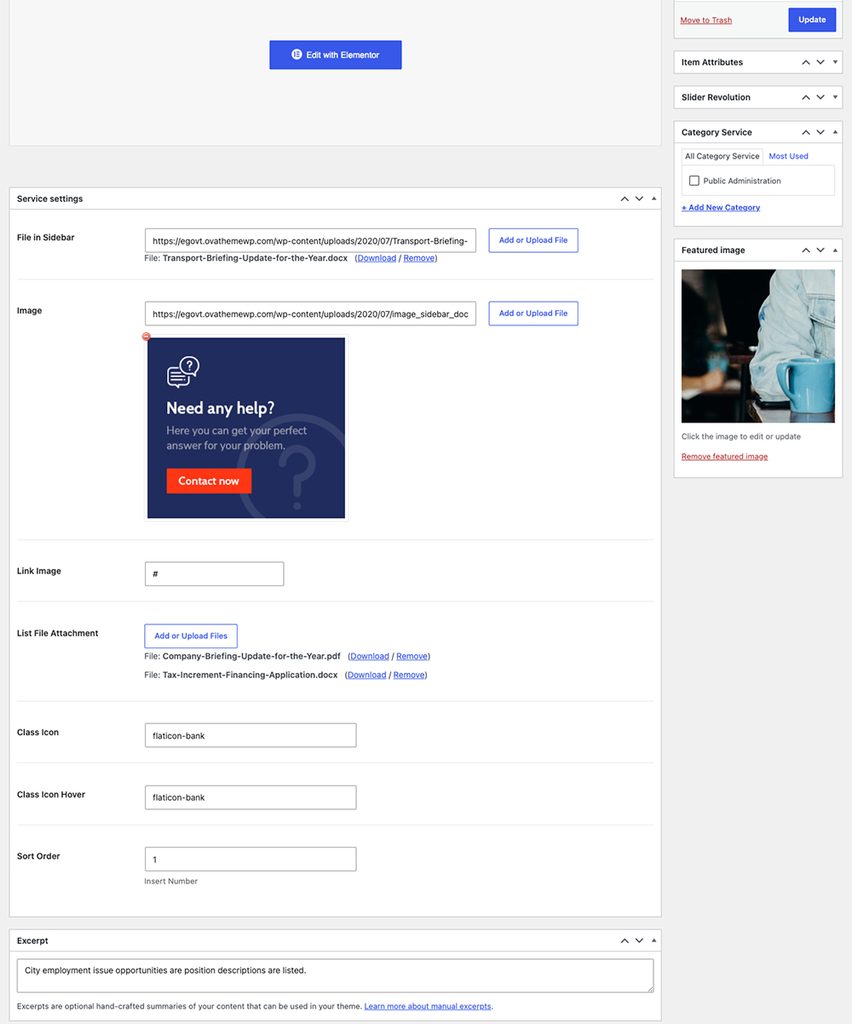
Go to Service → Add New Service. Give the service a clear Title and a full Description (what it is, who it’s for, requirements, and the responsible office), then open the service settings box below the editor and set:
- A Class Icon and a Class Icon Hover — the icon shown on the card and its hover state.
- An Image (the featured/thumbnail) and an optional Link Image.
- List File Attachment — upload the forms, guidelines or applications residents can download from this service.
- A File in Sidebar option to show those files beside the content on the detail page.
- A Sort Order number to control where the service appears in the list.
Publish, then repeat for every service. From the Service list in the dashboard you can view, edit, remove or clone an existing service — cloning is the fastest way to add many similar services.
Step 2: Group services into categories
Go to Service → Add New Category and create a category for each grouping (for example “Permits”, “Payments”, “Health”). Each category takes a name, slug, description and an optional parent category. Assign every service to a category — this is what powers the filtering that lets residents narrow a long list to the exact service they need.
Step 3: Configure how the section displays
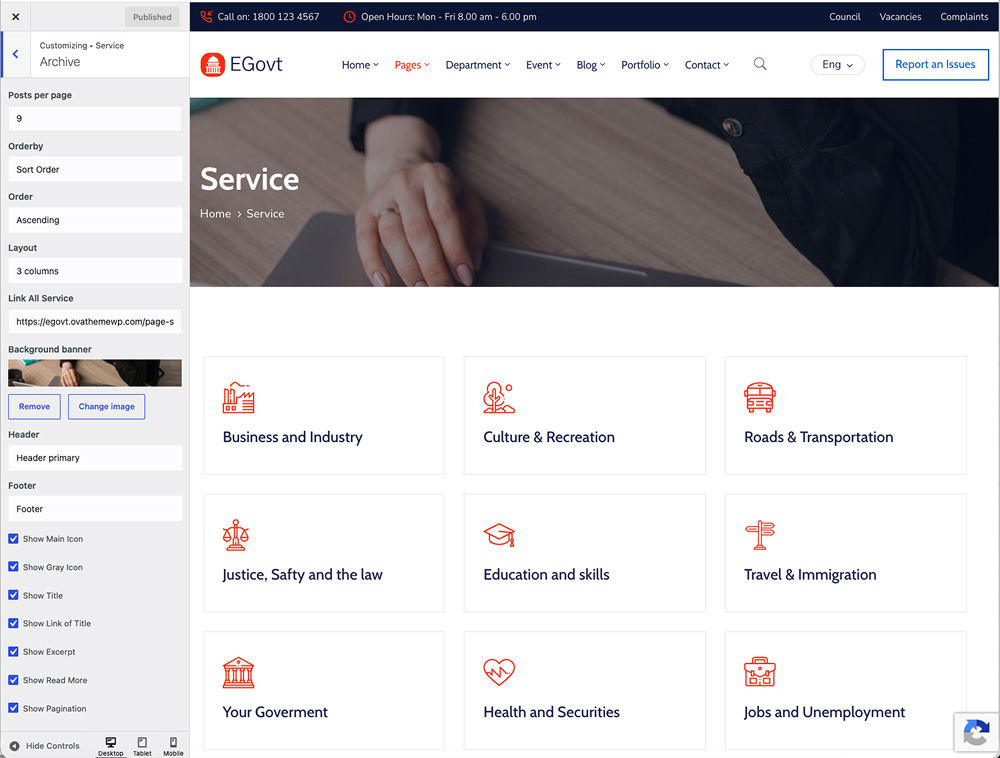
Open Appearance → Customize → Service, which has separate Archive and Detail (single service) settings:
- Service archive — posts per page, ordering (ID, Title, Date or Random), sort direction, a 2-, 3- or 4-column layout, the header/footer version, which fields are visible, and the background banner.
- Single service page — the header/footer version, which fields appear, and the background.
Everything previews live in the Customizer, so you set the look without touching any code.
Step 4: Place services anywhere with Elementor
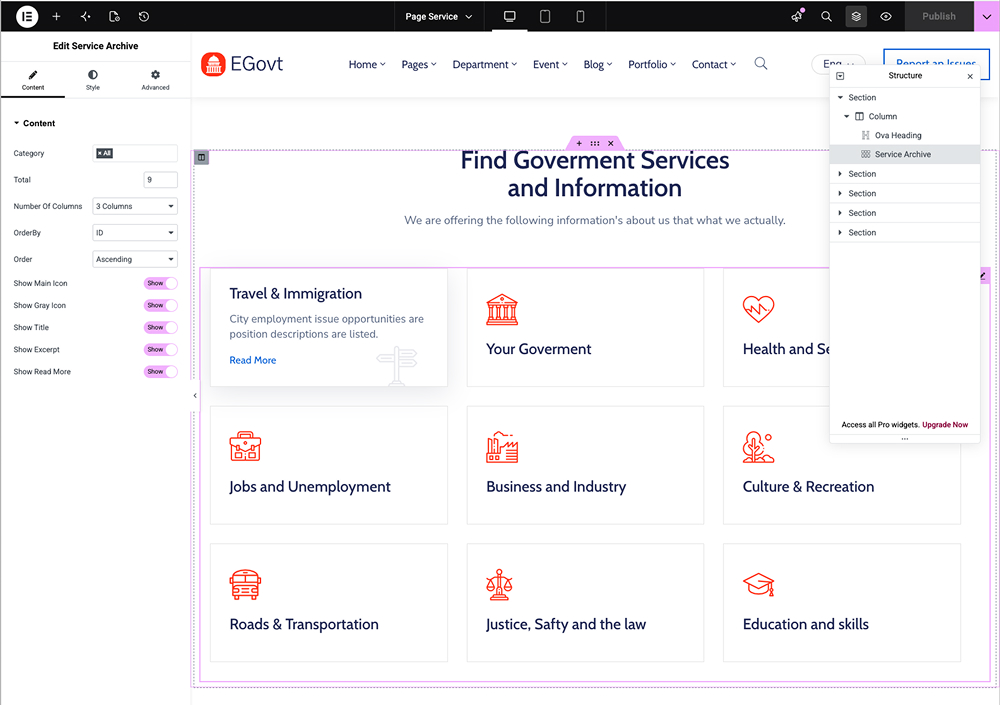
Egovt creates the services archive page automatically, but you’ll often want services on other pages too. It ships two Elementor widgets — an Archive Service widget (a filterable grid or list of services) and a Service list file widget — so you can drop a services block straight onto the homepage or a landing page while editing with Elementor.
Step 5: Make the section easy to find
Finally, add the services archive to your main menu under Appearance → Menus so it’s one click from anywhere, and make sure the header search is enabled — many citizens search rather than browse. Your online public services section is now live.
Tips for organizing services well
- Name services the way residents say them (“renew a permit”, not “permit lifecycle”).
- Keep categories few and obvious; too many buckets hide things.
- Lead each service page with the single action the resident came to do.
- Attach the relevant form directly to each service so people don’t hunt for it.
- Review your site-search terms and rename services people can’t find.
Keep the bigger picture in mind: adding a services section is just one small part of building a website for a government agency. It sits alongside departments, a document center, an events calendar, a staff directory and your overall site structure. For the full, end-to-end steps to build a government website, see our complete guide: How to Build a Government Website With WordPress.
Why we’d start with Egovt
Egovt gives you a services section, departments and a document center in one theme, editable without code and priced at $49. See it working in the live demo.
Frequently asked questions
How do I add a services section in WordPress?
In Egovt, go to Service → Add New Service to create each service with a title, icon and description, group them under Service categories, then set the layout under Appearance → Customize → Service.
Can residents download forms from a service page?
Yes. Each service supports a List File Attachment, so you can attach forms or applications for residents to download, optionally shown in the sidebar.
Do I need extra plugins to list services?
No. The Service module is part of the Egovt theme, and services, departments and documents work together out of the box.
Can I show services on the homepage?
Yes. Egovt ships Elementor widgets for services, so you can place a services grid or list on any page, not only the services archive.
