
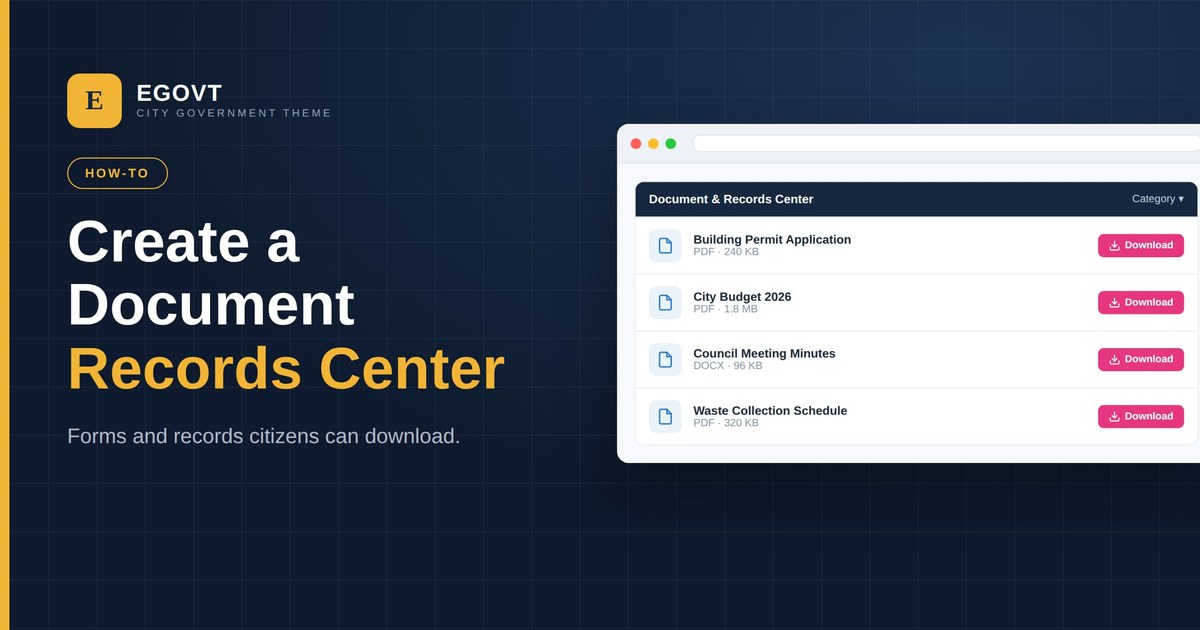
Forms, policies, ordinances, meeting minutes, public records — citizens need these constantly, and hunting for them is a common source of frustration. A document library puts them all in one browsable, downloadable place. Here’s how to build one in WordPress with the Egovt theme’s Document module.
What a good records center includes
- A categorized list of documents so people narrow down fast.
- A clear title and, ideally, a short description per record.
- The file and its size shown before download, so there are no surprises.
- A one-click download on every entry.
- Search and filtering across the whole library.
Building it with Egovt’s Document module
Egovt provides a dedicated Document custom post type — built and registered by our OvaTheme Document plugin specifically for records management — so official files live in their own Document section with fields made for downloads, instead of being scattered across pages and the media library.
A quick note on the URL: documents are served under /ova_doc/ by default. If you’d prefer a friendly path such as /document/, /records/, or anything you choose, you can change it with no code using the free Loco Translate plugin — see how to give your documents a friendly URL.
1. Add each document
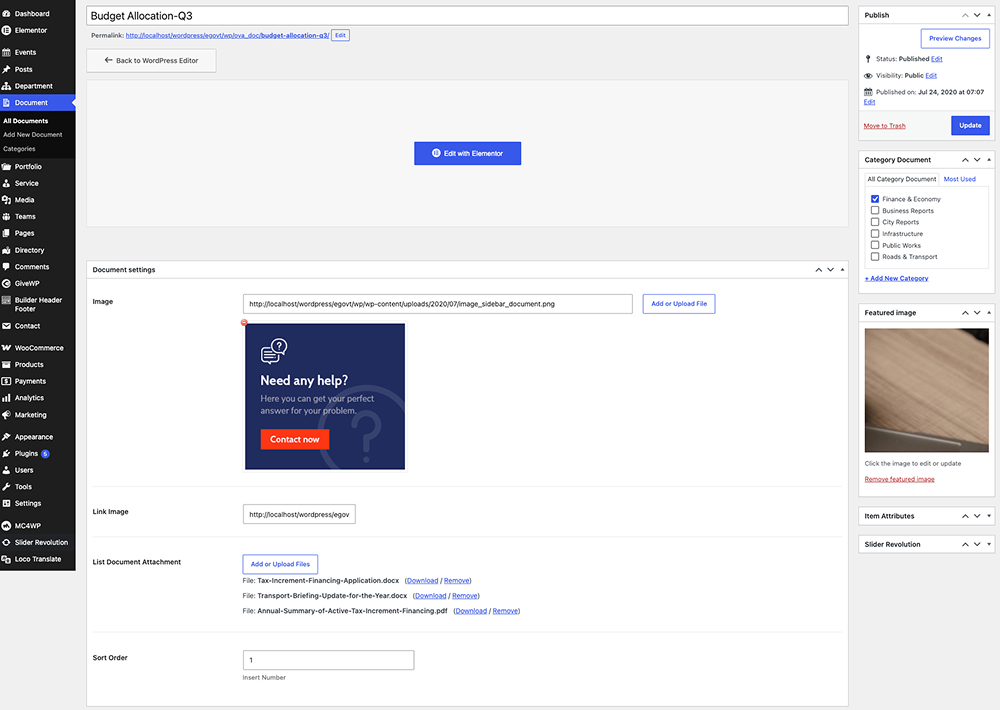
Go to Document → Add New Document, give it a title and description, then in the document settings box set:
- An Image and optional Link Image (a thumbnail or cover).
- List Document Attachment — upload the actual file(s); the front end shows each file with its size and a download link.
- A Sort Order number to arrange the list.
2. Group records into categories
Use Document → Add New Category to organize files (for example “Forms”, “Policies”, “Meeting Minutes”, “Reports”). Categories become the filters citizens use.
3. Style the library
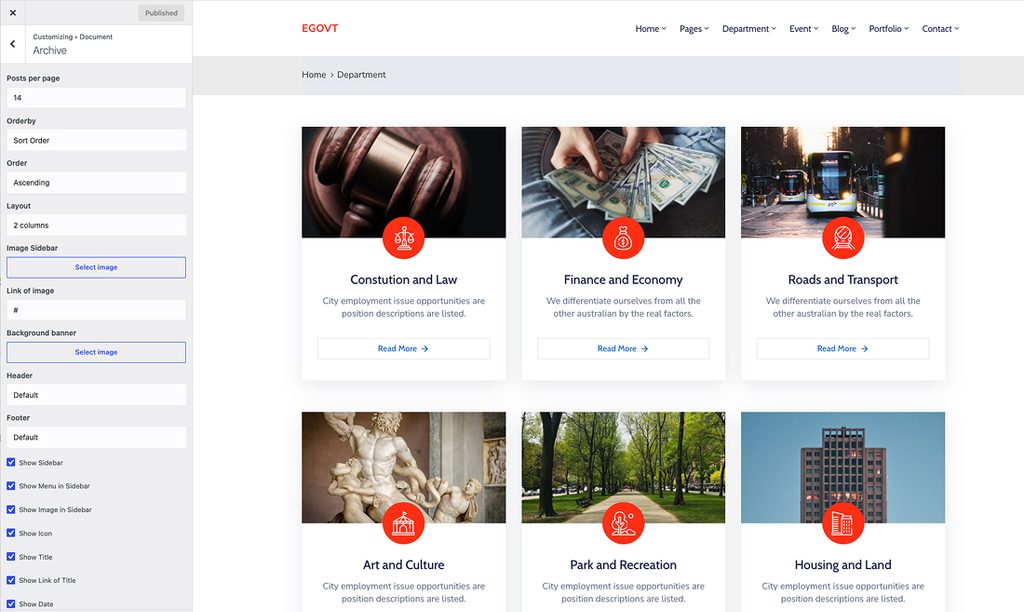
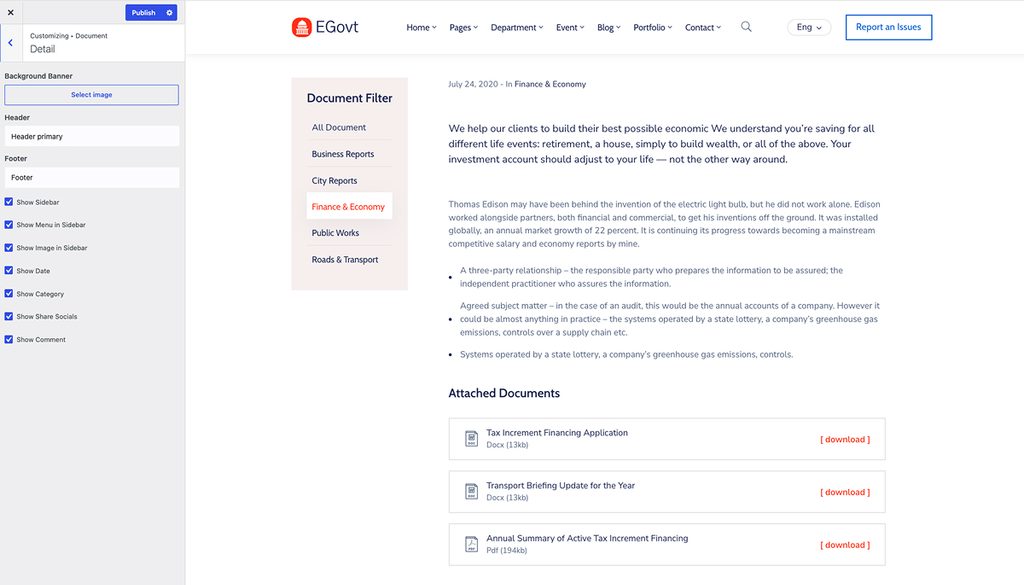
Open Appearance → Customize → Document to set the archive layout, ordering and which fields appear, plus the header/footer version and background.
4. Place documents anywhere with Elementor
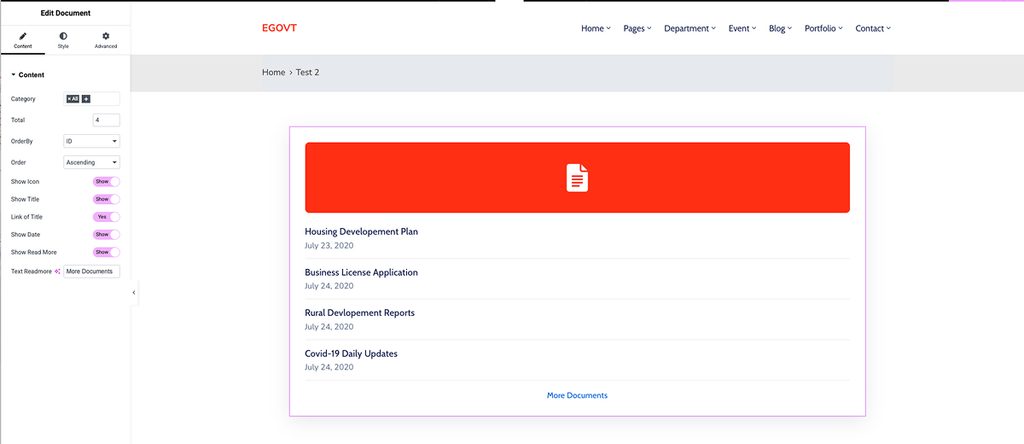
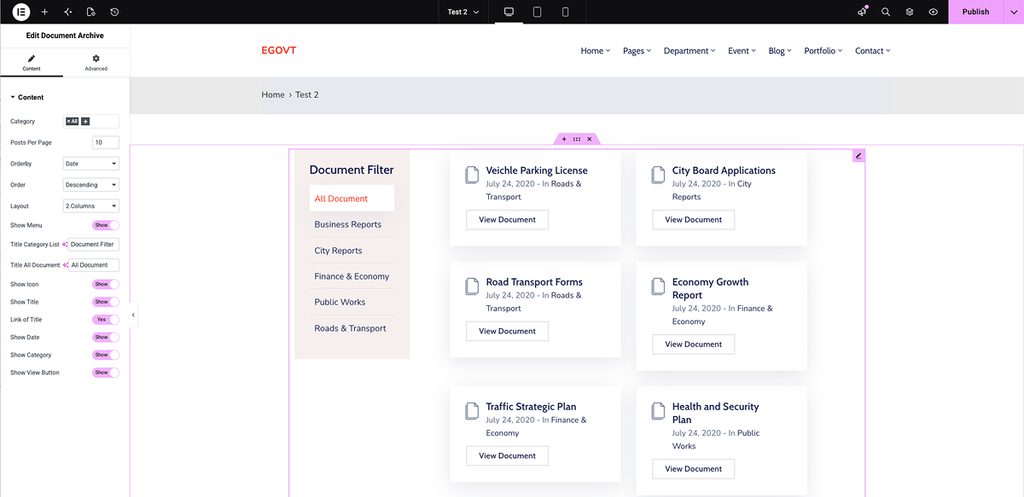
Egovt adds two Document widgets to Elementor, so you can surface key files anywhere — the newest forms on a service page, say. Here’s what each one does:
Document
Displays a chosen set of documents (by category or hand-picked) as a downloadable list, each entry showing its file and size.
Document archive
Outputs the full, filterable documents archive, so you can build a custom records-center page instead of relying on the default one.
Tips for a usable document center
- Name files the way people search for them, not by internal codes.
- Keep categories shallow and obvious.
- Replace outdated files in place so links never break.
- Show the file type and size so users know what they’re getting.
A records center is rarely the whole job — it’s one building block of a complete government website. Alongside your documents, most sites also need online services, a department directory, an events calendar and a structure that ties them together. Planning the entire build? Our full walkthrough, How to Build a Government Website With WordPress, covers every section step by step.
Why we’d start with Egovt
Egovt bundles a document center with services and departments in one $49 theme, no coding required. See it in the live demo.
Frequently asked questions
How do I let people download files in WordPress?
In Egovt, go to Document → Add New Document and upload the file under List Document Attachment. The front end shows each file with its size and a download link.
Can I organize documents by type?
Yes. Group documents under Document categories such as Forms, Policies or Minutes, and citizens can filter the library by them.
Does it show the file size?
Yes. The Document module displays each attached file with its size before the user downloads it.
Do I need a separate download-manager plugin?
No. The Document module is part of the Egovt theme and handles uploads, categories and downloads on its own.
