
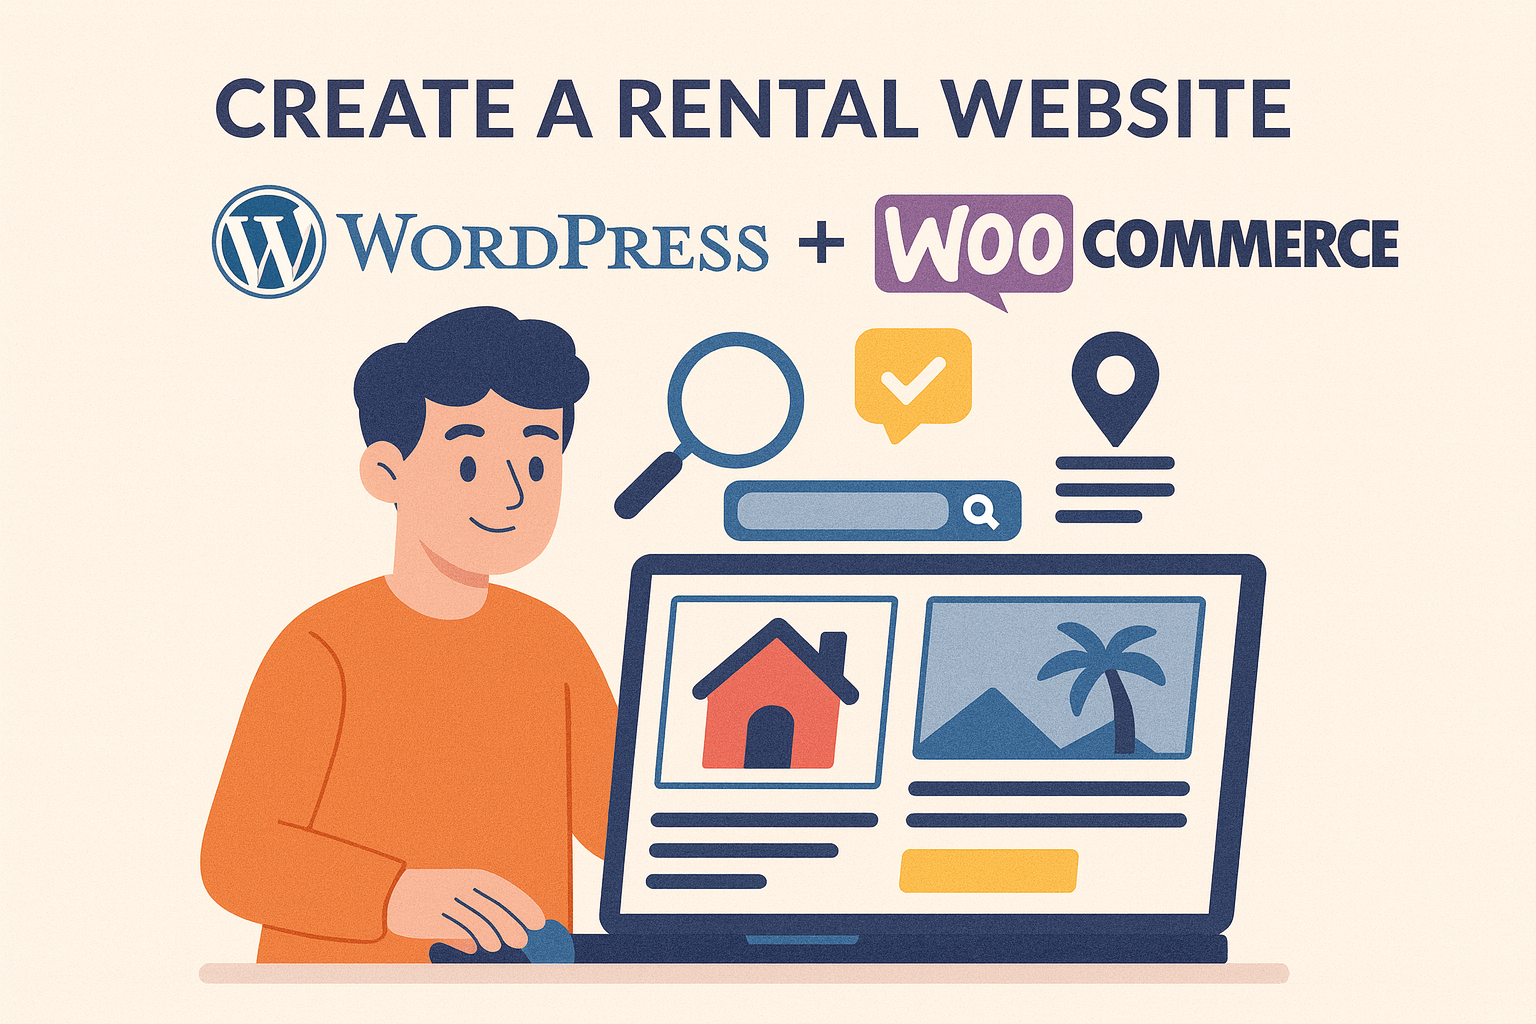
If you’re in the rental business, whether it’s cars, bikes, tools, equipment, or vacation homes, having an online platform is essential to attract customers and manage bookings efficiently. The good news? You don’t need to spend thousands on custom software. With WordPress + WooCommerce, you can create a rental website that looks professional, handles reservations, and accepts payments—all without coding.
In this step-by-step guide (2025 edition), we’ll walk you through how to set up your own rental website with WooCommerce.
why Create a Rental Website with WordPress+WooCommerce
WordPress by itself is a powerful platform for building websites, but when combined with WooCommerce, it becomes a complete solution for rental businesses. WooCommerce is the world’s most popular eCommerce plugin, and it adds everything you need to manage products, payments, and orders. Together, they create a flexible and scalable rental booking system.
Benefits of Using WordPress for Rental Websites:
- Easy Setup & Use → No coding required, just install WordPress and a rental plugin.
- Budget-Friendly → Save money compared to custom development.
- Highly Customizable → Use themes, Elementor, and plugins to create a unique site.
- WooCommerce-Powered → Handle payments, orders, and customer data with the world’s most popular eCommerce system.
- Scalable → Start small and grow to hundreds of rental products or multiple locations.
- SEO & Marketing-Ready → Rank higher in Google and integrate with marketing tools easily.
- Improved Customer Experience → Offer booking forms, real-time calendars, Google Maps, and flexible payment options.
Benefits of Using WooCommerce for Rental Websites:
- Affordable → No expensive SaaS subscription
- Customizable → Integrates with any WordPress theme
- Scalable → Works for small local rentals or global businesses
- Flexible payments → Supports PayPal, Stripe, credit cards, and deposits
- Full ownership → You control your website and customer data
Step 1: Set Up WordPress and WooCommerce
- Choose hosting → Use a reliable host like SiteGround, Bluehost, or Kinsta.
- Install WordPress → Most hosts offer 1-click installation.
- Install WooCommerce → Go to Plugins > Add New, search for WooCommerce, and activate it.
- Run setup wizard → Configure currency, checkout, and payment basics.
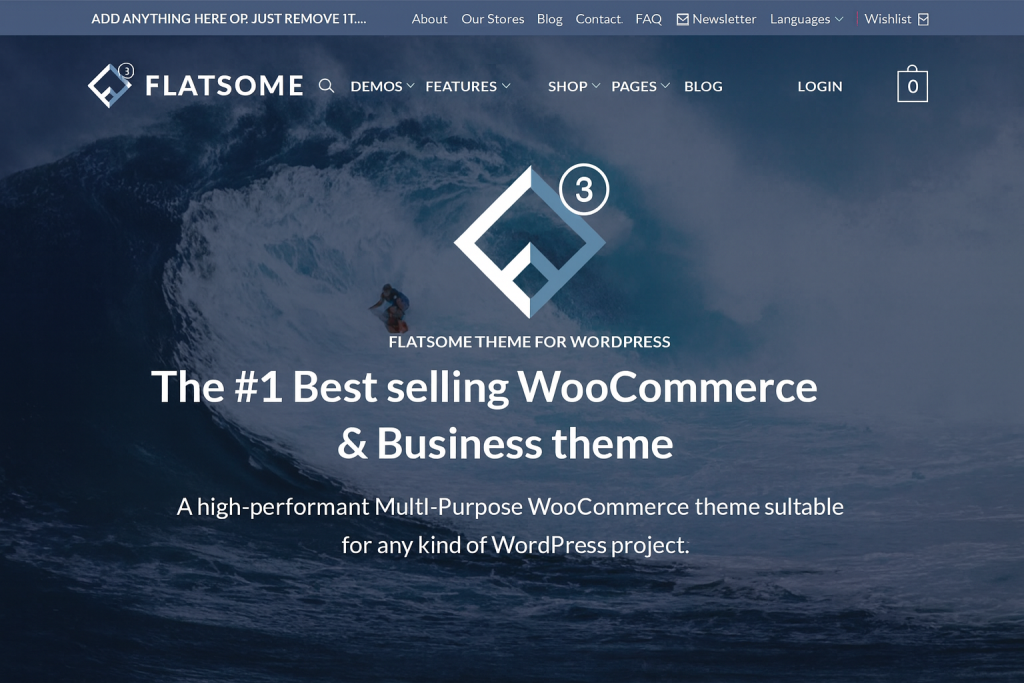
Step 2: Select a Rental-Friendly Theme
To create a rental website that looks modern and user-friendly, choose a responsive WooCommerce theme. Popular options in 2025 include: Astra, Flatsome, GeneratePress, Blocksy
Make sure your theme supports Elementor or Gutenberg for easy design customization
Step 3: Install a Rental Booking Plugin
WooCommerce by itself doesn’t offer rental features. To add booking functionality, you’ll need a rental plugin. For this guide, we’ll use BRW Rental Booking Plugins since it’s powerful, flexible, and designed specifically for WooCommerce
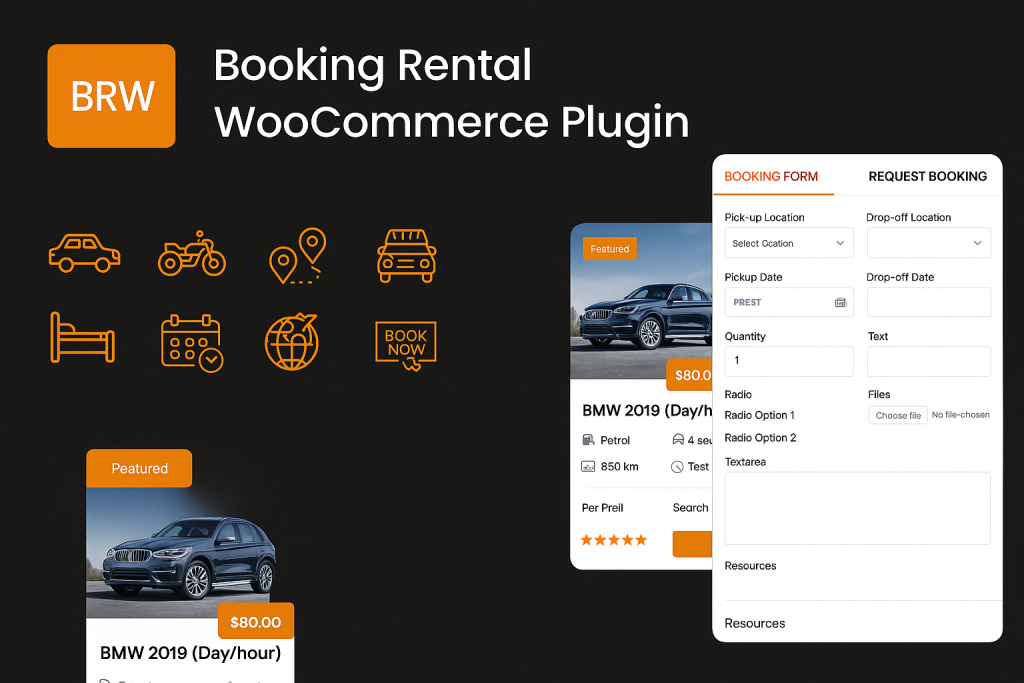
Why BRW is One of the Best Rental Booking Plugins in 2025
1. Integrate Fully WooCommerce
BRW works seamlessly with WooCommerce, giving you a complete eCommerce + booking solution:
- Supports all WooCommerce payment gateways (PayPal, Stripe, credit cards, etc.)
- Uses WooCommerce’s built-in order & booking management features
- Rentals can be added to the cart like normal products
- Follows the familiar WooCommerce checkout flow (billing, shipping, payment)
2. Fits Various Rental Types
BRW adapts to almost any rental business model, with separate settings for each type:
- Car, Bike & Boat Rentals
- Equipment Rentals (tools, cameras, event gear)
- Hotels, Homestays & Property Rentals
- Tours & Activity Bookings
- Taxi Booking & Airport Transfers
- Chauffeur Services
- Appointment Scheduling
3. Offer Flexible Pricing Modes
BRW makes pricing flexible, transparent, and tailored to your business:
- Time-based Pricing → Daily, Hourly, or Mixed (Day + Hour)
- Fixed-route Pricing → Perfect for taxi and transfer services
- Distance-based Pricing → Charge based on mileage or kilometers
- Base Fare → Add a minimum starting cost
4. Increase Revenue for Owners
Maximize profits with BRW’s revenue-focused features:
- Discounts & Seasonal Rates → Higher rates during peak demand, discounts for longer rentals
- Upselling & Extra Services → Add-ons like GPS, helmets, cleaning fees, or premium upgrades
- Flexible Payment Options → Customers can pay a deposit instead of full upfront, reducing booking hesitation
- Automated Booking & Availability → Improves trust, reduces cancellations, and saves time
5. Enhances User Experience
Designed with customers in mind, BRW ensures a smooth booking process:
- Booking Form & Request Form options
- Real-time Calendar Availability → Shows blocked dates and hourly/daily pricing
- Review & Rating System → Builds credibility and trust
- Google Map Integration → Customers can check exact locations and routes
- Deposit Options → Pay part upfront, balance later
- Booking Cancellation → Flexible cancellation rules increase customer confidence
6. Provide Advanced Features for Admins
BRW gives rental business owners powerful management tools:
- Visual Calendar → Track bookings and availability in real time
- Manual Booking Creation → Add bookings from phone, email, or walk-ins
- Global & Local Settings → Apply settings across all rentals or customize per product
- Custom Checkout Fields → Add unlimited fields to collect exactly the information you need
Step 4: Add a Rental Product in WooCommerce with BRW
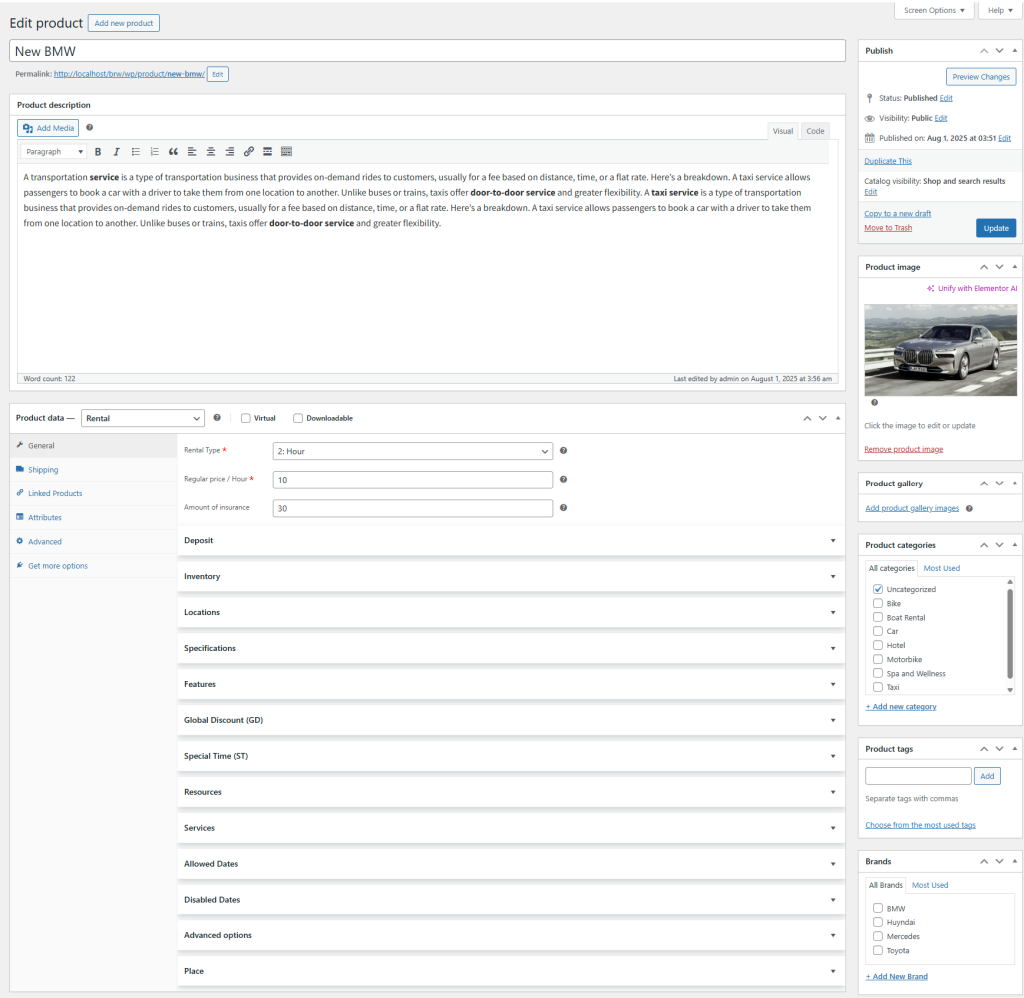
1. Create a New Product
- Go to Products > Add New.
- Add a title, description, and product images.
2. Set Product Type
- Under Product Data, select Rental Product.
3. Configure Rental Pricing
- Choose pricing modes:
- Hourly Pricing
- Daily Pricing
- Price per KM/Mile
- Distance-based Pricing
4. Add Advanced Pricing Options
- Base Fare
- Seasonal Rates
- Discounts based on Rental Length
5. Add Specifications & Features
- List product details (capacity, features, usage notes, etc.).
6. Set Deposit & Insurance Amount
- Set Fixed Insurance Amount
- Enable deposit feature:
- Customers can choose full payment or partial payment.
- Deposit can be a fixed amount or a percentage.
7. Manage Inventory
- Choose inventory method:
- General Inventory Management (all items treated as one).
- Item-level Inventory Management (track each item individually).
8. Set Availability
- Define Allowed Dates & Disabled Dates.
9. Configure Advanced Booking Settings
Note: These will override global settings
- Booking Rules:
- Minimum & Maximum rental days
- Initial block days
- Post-booking block days
- Last-hour management
- Disable certain weekdays
- Field Visibility: Show/hide quantity, pickup/drop-off date, pickup/drop-off location.
- Other Settings: Product template, custom checkout fields, extra tab, price format.
Step 5: Configure Booking Settings With BRW
1. Booking Conditions
- Disable specific weekdays
- Option to override disabled weekdays when needed
2. Date & Time Formats
- Choose date format (e.g., DD/MM/YYYY or MM/DD/YYYY)
- Select time format (12-hour or 24-hour)
- Define time slot steps (e.g., 15 min, 30 min, 1 hour)
- Group time slots for pick-up and drop-off
- Set default pick-up and drop-off times

3. Other Settings
- Language selection
- Set the first day of the week (e.g., Sunday or Monday)
- Customize text and background colors for available/disabled dates
- Define minimum and maximum year range for bookings
Step 6: Set Up Payments
WooCommerce makes it easy to collect payments securely. With BRW, you can:
- Accept full payment or deposit payments
- Use Stripe, PayPal, or credit cards
- Offer offline payments like cash or bank transfer (optional)
This flexibility helps increase bookings by giving customers more payment choices
Step 7: Customize Your Rental Website with BRW
Enhance your site’s user experience:
- Advanced Search Filters → Let customers search by Product Name, Attribute, Product Tag, Pick-up & Drop-off Location, Pick-up & Drop-off Date, Category, or Taxonomy for a seamless booking experience.
- reCaptcha Protection → Secure your forms and prevent spam or bot activity.
- Cancellation Policy → Display clear cancellation rules to manage customer expectations.
- Elementor Widgets → Use Elementor widgets that are already bundled inside BRW (Booking & Rental WooCommerce) Plugin to build product pages
- Automated Emails → Send reminders before check-in and notify customers about remaining balances after deposit payments.
- Customer Reviews → Add reviews and ratings to provide social proof and build trust.
Step 8: Test Your Rental Booking Flow
Before going live:
- Book a product as a customer.
- Select rental dates and extras.
- Complete a test payment.
- Confirm that availability updates correctly in the calendar.
Step 9: Launch and Promote Your Website
Now that your rental website is live, it’s time to attract customers.
- Optimize product pages for SEO (e.g., “Car rental in Los Angeles”).
- Run Google Ads or Meta Ads to reach local renters.
- Share your website on social media and local business listings.
- Offer promotions for first-time customers.
Final Thoughts
In 2025, it’s easier than ever to create a rental website with WordPress + WooCommerce. By combining WordPress, WooCommerce, and a rental booking plugin like BRW, you get:
- A professional online rental system
- Real-time availability management
- Secure payment options
- Full ownership of your website
Whether you’re renting out cars, bikes, vacation homes, or equipment, this setup is cost-effective, scalable, and designed to help your rental business grow.
Start today: Install WordPress, WooCommerce, add BRW, and create a rental website that attracts customers and increases bookings.